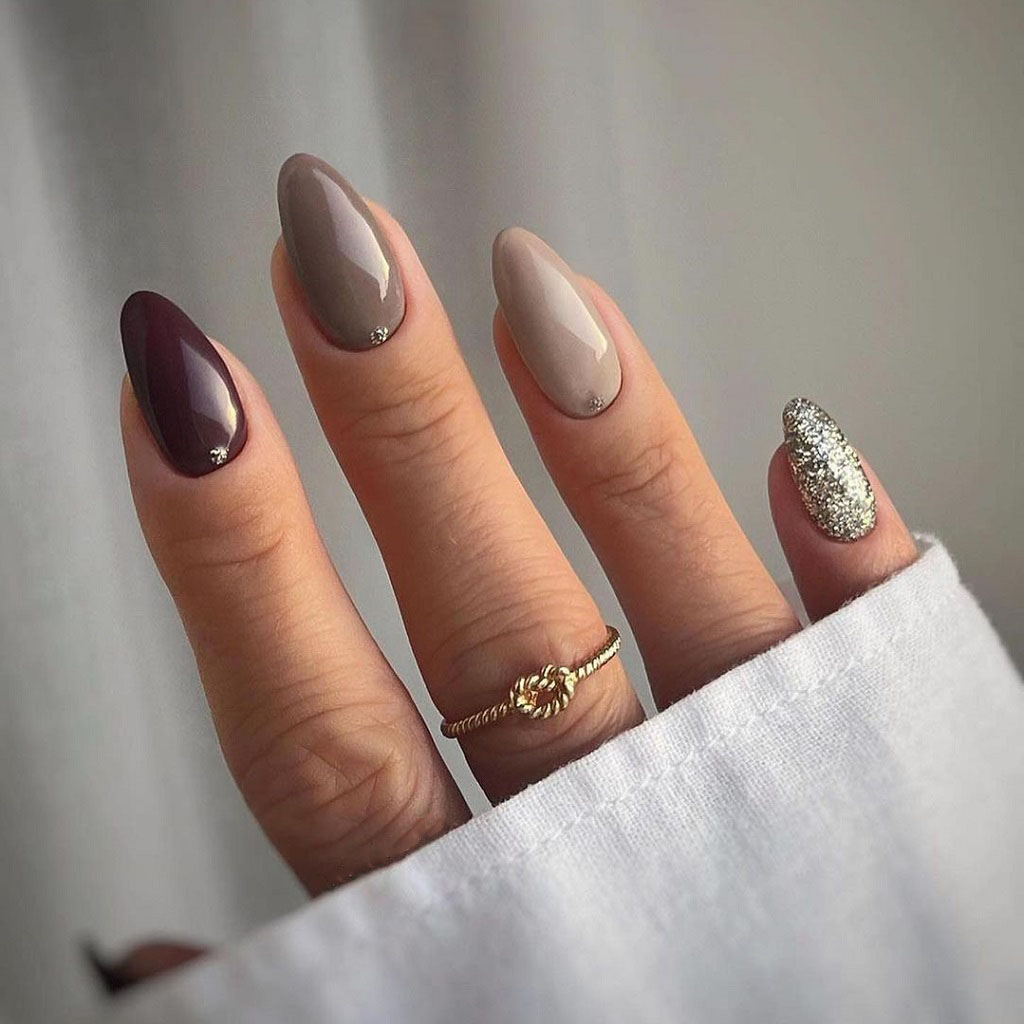
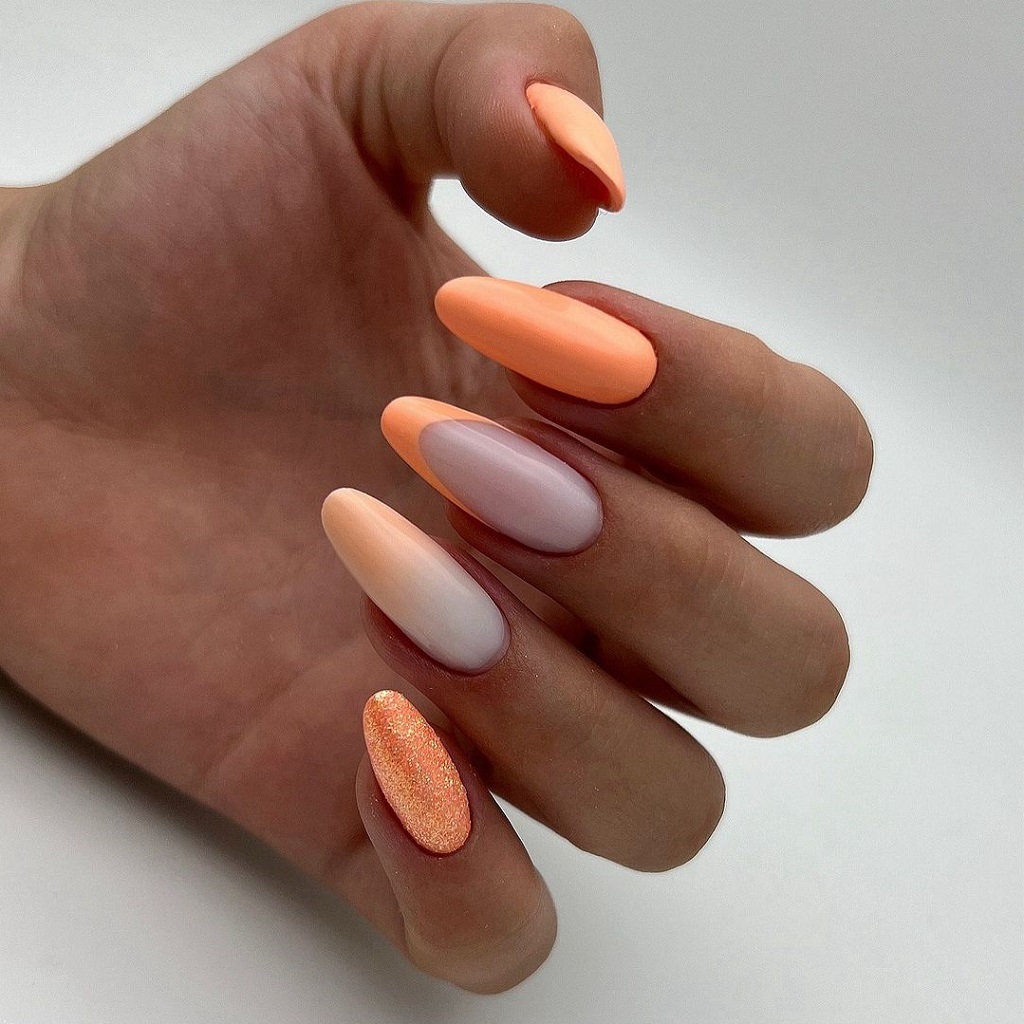
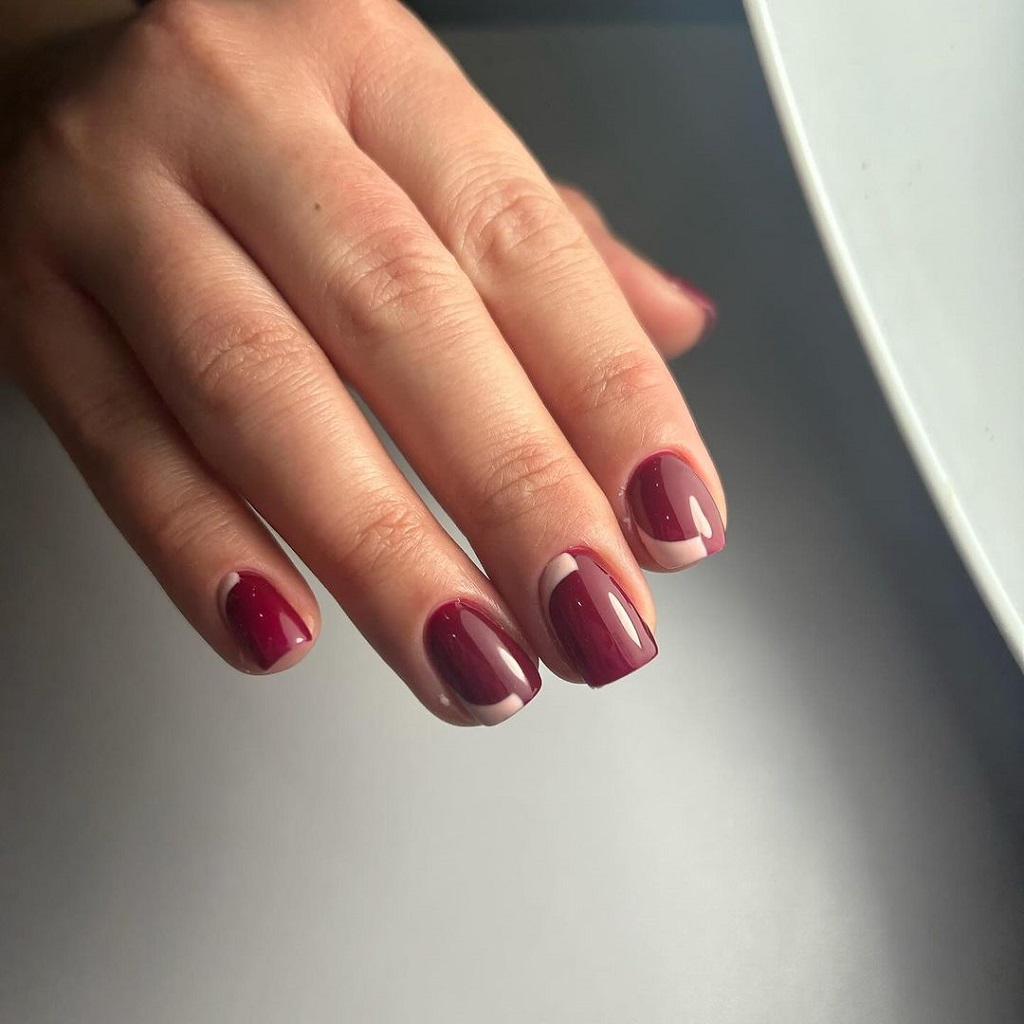
Dip powder nails are gorgeous and practical. They have staying power that will make your gel manicure jealous. Since they last for more than three weeks, they are ideal for busy bees who want a fresh look without constant touch-ups. Moreover, vibrant dip powder colors lend themselves to stunning designs that you can complete in minutes. Whether you love classic styles or follow viral trends, you can match a dip manicure to your needs.
We bet you have questions if you’re new to this nail product. Let’s discover how easy and quick it is to apply it.

Dip Powder Manicure Steps in a Nutshell
Unlike gel polish, you won’t need a nail lamp to cure a dip powder manicure. Instead, every step air-dries. Besides your usual manicure tools, you’ll need a set of liquids and powders to build up that long-lasting shine that resists fading and chipping.
Following are steps for SNS nails as an overview:
- Prep the nails including lightly buffing the nail plate.
- Brush on a thin coat of Gelous Base over four-fifths of each nail. It dries rapidly so you can move from one nail to the next.
- Now choose a finger and add a second coat of Gelous Base that covers about two-thirds of the nail.
- Dip that nail into the powder of your choice. There are so many beautiful SNS colors to try!
- Repeat steps 3 and 4 on each fingertip. Then use a soft brush to remove the extra powder.
- Time to duplicate the process, but this time leave a 2mm gap between the cuticle and the liquid. Also, be sure to wipe the brush on a paper towel each time before dipping it back into the bottle. Otherwise, you’ll get particles in the liquid.
- You’re about halfway done. This round, apply the Gelous Base right up to the edge of the cuticle, then dip the fingers into the powder. Remember to clean the liquid brush before dipping it and remove the excess powder from the fingers.
- For the last round of Gelous Base, leave a 2mm gap again then dip into the powder. Now dip each finger into clear powder for a glasslike shine.
- Meticulously brush off the extra powder (including under the nail) because you’re about to set everything. Apply the Sealer Dry liquid to each nail, remembering to wipe the bristles to remove powder before dipping back in the bottle.
- The nails should be dry soon—tap them to check. Then gently buff them and remove the dust.
- Now it’s time for a second coat of Sealer Dry. Let it set for a couple of minutes. At this point you can rinse the hands without using soap and dry them.
- Finally, apply two thin layers of Gel Top for extra gloss, waiting a bit between each one. Despite the name, it air-dries in a couple of minutes.
Now that you’ve had a peek at the process, you might think that it’s a lot of work. That’s no lie—there’s much repetition. However, it goes fast as everything dries quickly, and there’s no strong odor or UV exposure to worry about.
If you try the Kiara Sky dip powder colors, the process is the same, only the names are different. With practice you can finish a dip powder manicure in fifteen minutes!

Dip Nails are Surprisingly Versatile for Nail Art
You can do amazing designs with dip powder colors like those from Kiara Sky and SNS. For example, since the powder only adheres where you brush the liquid, French manicures are straightforward. We’re sure you can imagine even more creative styles to try. Plus, you can add gel polish over your dip nails for even more versatility. The only question now is what to explore first!
